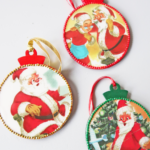
I love simple, crafty projects that add a personal touch to the holidays, and today I’m sharing a fun, easy DIY Christmas ornament idea that you can make with your family. These ornaments are the perfect combination of vintage nostalgia and handmade charm! Plus, they’re a wonderful way to preserve special moments from old books you’ve collected over the years.
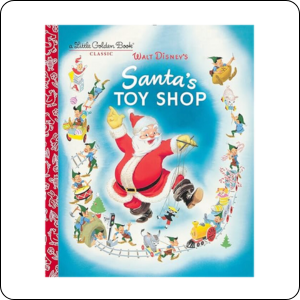
For this project, I used wooden ornament blanks, some acrylic paint, and a childhood favorite—Santa’s Toy Shop from the Little Golden Book series. The finished ornaments are beautifully vintage and will add a cozy, homemade feel to your Christmas tree!
Here’s how to make your very own Little Golden Book Christmas ornaments.
Materials You’ll Need:
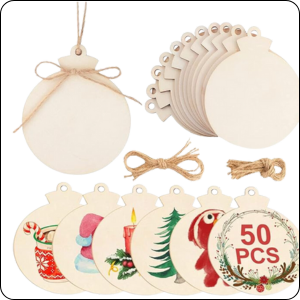
- Wooden ornament blanks (round or any shape you like)
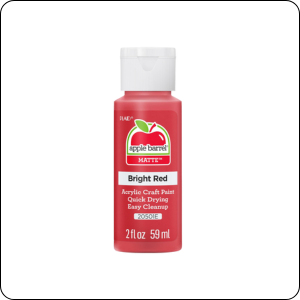
- Acrylic craft paint in your preferred holiday colors
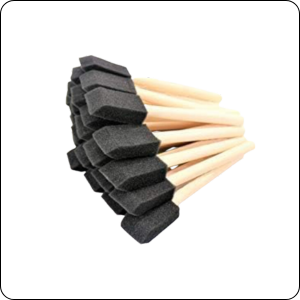
- 1-inch foam brush
- Your chosen Little Golden Book (or any book with illustrations)
- Scissors
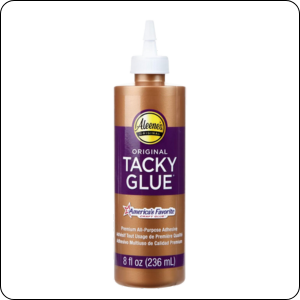
- Tacky glue
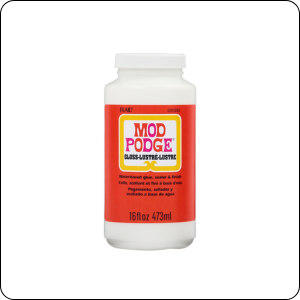
- Mod Podge (matte or glossy, depending on your preference)
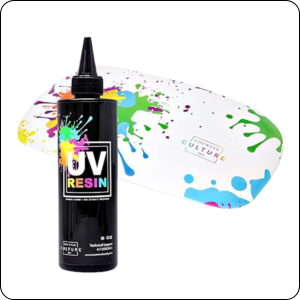
- UV resin and UV light
- String or ribbon for hanging
Step-by-step instructions:
- Paint the Wooden Ornament Blanks
Start by painting one side of the wooden ornament blank with acrylic craft paint. I like to use a foam brush for this because it gives smooth, even coverage. You can use traditional Christmas colors like red, green, or white, or get creative with metallics or pastels for a modern look. Let the paint dry completely before moving to the next step. - Select and Cut Out Your Image
While your paint is drying, take your Little Golden Book (I used Santa’s Toy Shop) and find an illustration you love. Place your ornament blank over the image, then carefully trace the shape of the ornament onto the page. Use scissors to cut out the image. Try to cut as neatly as possible to get a smooth edge. - Glue the Image to the Ornament
Once the paint is dry and your image is cut out, it’s time to attach it to the ornament. Apply a thin coat of tacky glue to one side of the ornament and carefully press the cut-out image onto the surface. Make sure the image is smoothed out and has no wrinkles or bubbles. Let the glue dry completely before moving on. - Seal with Mod Podge
To protect your image and prepare it for the resin finish, brush a thin layer of Mod Podge over the entire ornament. This step is crucial because it seals the paper and prevents the resin from soaking into it. Let the Mod Podge dry thoroughly before proceeding to the resin. - Add UV Resin for a Glossy Finish
Once the Mod Podge is dry, apply a coat of UV resin over the top of the ornament to give it that beautiful, shiny finish. Use a UV light to set the resin, which should only take a few minutes. The resin not only adds a glossy look but also makes the ornament durable for years to come. - Finish with a String
After the resin has set, add a piece of string or ribbon to the top of your ornament so you can hang it on your tree. You can match the string to your Christmas décor or go with a classic twine for a rustic look. - Display and Enjoy!
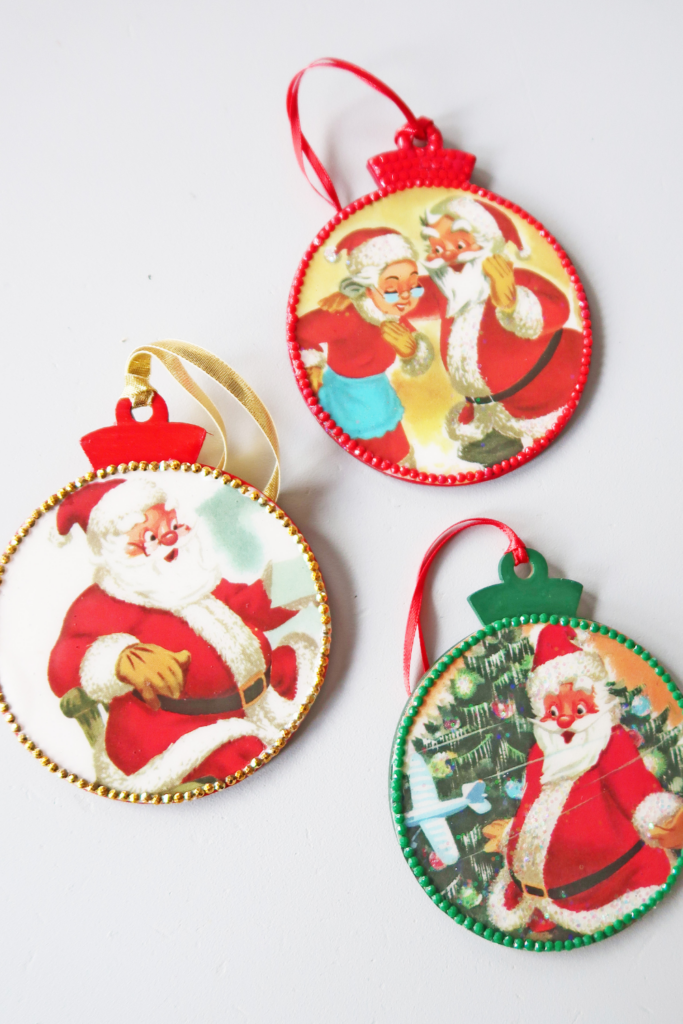
Now you have a lovely, homemade Christmas ornament that’s filled with memories and character! These Little Golden Book ornaments are perfect for gifting or adding a personal touch to your own tree. Plus, the UV resin gives them a durable, professional finish that will last for years.
These ornaments are so fun to make and can be customized with any favorite book or illustration. Gather the family, turn on some Christmas music, and make a batch together!
Let me know if you try this DIY! I’d love to see your creations. Happy crafting, and Merry Christmas! 🎄
Products Used: