If you’re thinking about starting a garden but feel overwhelmed… I get it – because I’m right there with you.
I’m a beginner, figuring this out as I go, and instead of overcomplicating it, I decided to keep things simple and just start.
This is everything I’m using to start seeds in my home here in Lancaster, PA – and the best part? Almost all of it is affordable and easy to set up.
🌿 My Goal (Keeping It Simple)
I didn’t want a complicated setup or anything that required a ton of space.
My goals were:
- Keep everything small and manageable
- Fit it on my windowsill
- Use tools that are beginner-friendly
- Not spend a ton of money
So if you’re looking for a realistic, no-stress way to start seeds… this is for you.
🪴 My Seed Starting Setup
Here’s exactly what I’m using!
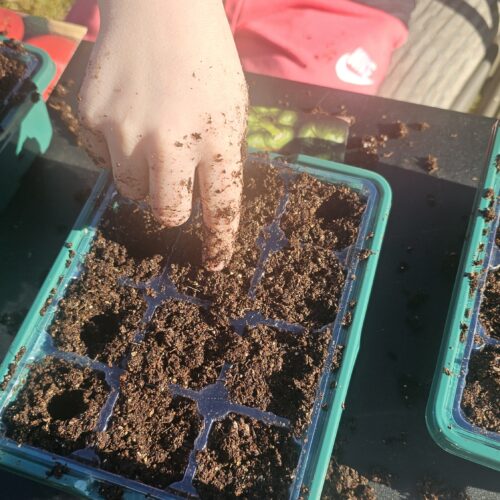
🌱 12-Cell Seed Trays with Dome Lids
I’m using small 12-cell seed trays with self-wateriing bases and humidity dome lids, and honestly, these have been perfect.
What I love:
- The size fits perfectly on my windowsill
- The dome helps keep moisture in while seeds are starting
- The self-watering tray makes it really hard to mess up
If you’re new, this is such an easy place to start.
👉 12-Cell Seed Trays with Dome Lids
🔥 Heat Mats
I added 3” x 20” heat mats, and they fit perfectly under my trays on the windowsill.
These help:
- Speed up germination
- Keep soil warm (especially important here in PA)
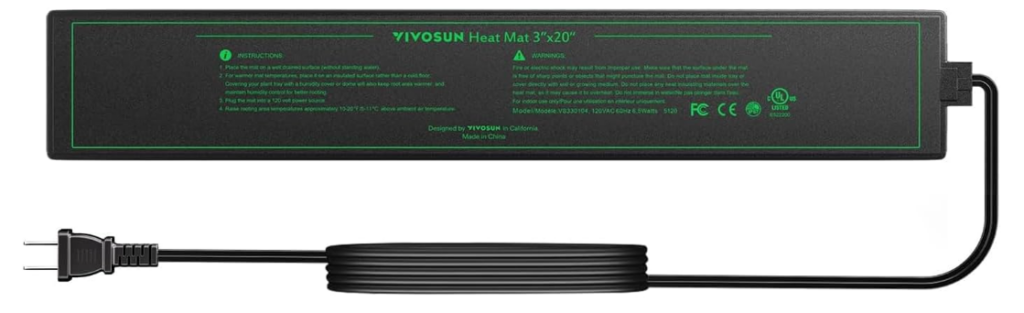
I didn’t realize how helpful these would be, but I’d definitely recommend them if you’re starting early in the season.
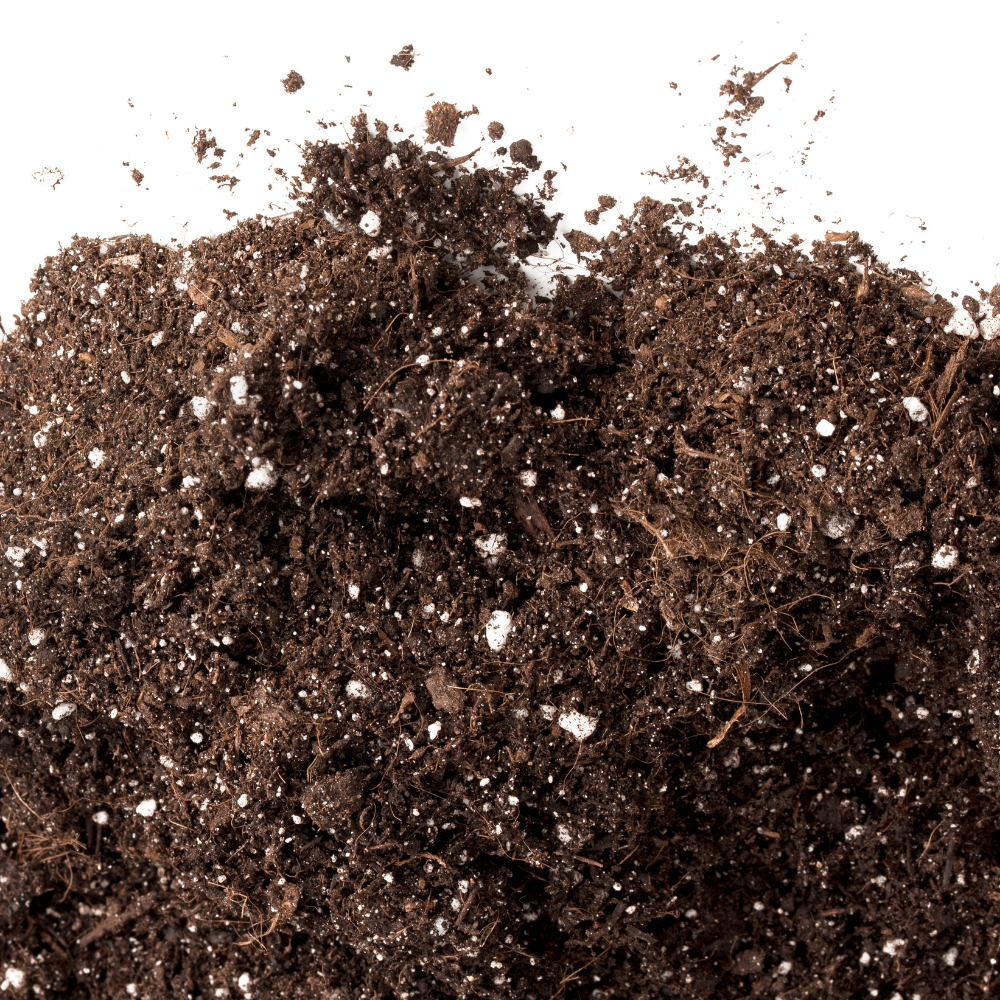
🌱 Seed Starting Soil
You can grab this at a local store or I’ve also ordered this Jiffy seed starting mix from Amazon when I wanted it to come to my doorstep.
I’m using a basic seed starting mix, which is lighter and better for seedlings than regular potting soil.
If you’re new—this matters more than I expected. Regular soil can be too heavy for tiny seedlings.
💡 Grow Lights
Okay this is where I kept things super simple.
I used grow lights and zip-tied them to the bottom of my window blinds—and it works perfectly.
Why I did this:
- Saves space
- Keeps the lights close to the plants
- No complicated setup
If your house doesn’t get perfect sunlight (mine doesn’t), this makes a big difference.
💧 Watering Method
I’m doing two things:
Bottom watering:
- I fill the tray underneath
- Let the plants soak up water from the bottom
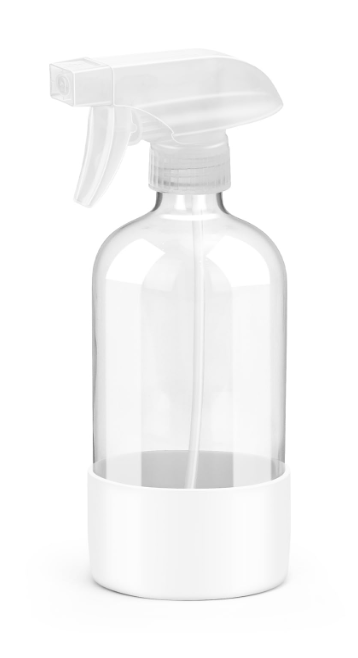
Misting:
- I use a spray mister for the leaves and top soil
This combo has been really easy to manage and helps avoid overwatering.
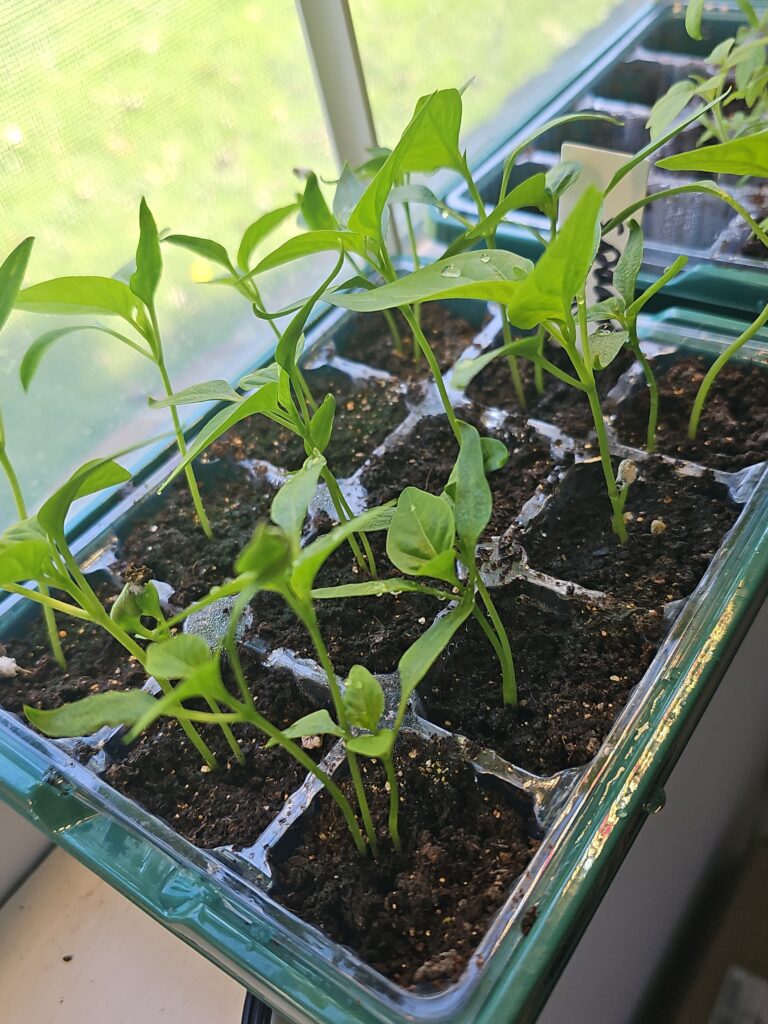
🪴 4” Pots for Up-Potting
Once my seedlings get bigger, I move them into 4-inch pots with drainage holes.
Again—nothing fancy, just simple plastic pots that get the job done.
👉 Pots

🌼 What I Love About This Setup
This setup works because it’s:
- Simple
- Affordable
- Not overwhelming
- Easy to maintain
I didn’t want to wait until I had the “perfect” setup… I just wanted to start—and this made it possible.
🌱 If You’re Just Starting…
Here’s my advice. Start small. Don’t overthink it. You don’t need a perfect system—you just need to begin. I’m learning as I go, and I’ll keep sharing what works (and what doesn’t).
🛒 Quick Links to My Setup
- Seed trays with domes → https://amzn.to/4sr0Fe4
- Heat mats → https://amzn.to/4wsHDHj
- Grow lights → https://amzn.to/4nt21nO
- Spray mister → https://amzn.to/4ny2ipE
- 4” pots → https://amzn.to/4vFRHN0